Automation Workflows
How to create, modify and delete your automation flows
Companies and projects often have unique requirements when it comes to workflows. In order to meet these diverse needs and enhance the user experience on the platform, the Automation Workflow feature has been carefully designed and developed. It allows each team to create unlimited custom automation project flows that align with their specific needs and streamline their processes.
The Automation Workflow overview page
How do I activate my workflow?
How do I change a step in the workflow?
How do I change the name or description?
The Automation Workflow overview page
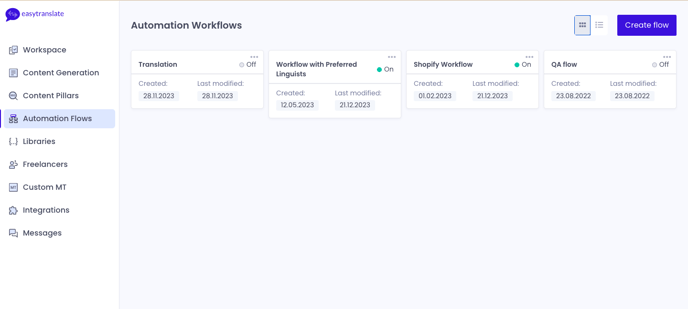
When you arrive on the Automation Workflows page, you get an overview of all the project flows you have created. By default, the project flows are displayed as cards, showing the name, the creation date and the last modified date of the project flow and its status ("On" or "Off").
The Workflows are sorted by the created date. The last Workflow created would be the first one to be displayed.
You have the possibility to activate or deactivate your Automation Workflows. When a flow is active and ready to be used the card is set as "On" with a green light next to it. If your flow is not activated its status is set as "Off". Please note that a flow set as "Off" cannot be selected when you create a project.
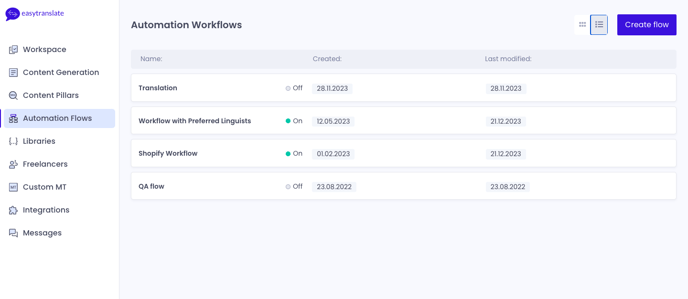
By clicking on the row icon next to the “Create flow” button, you have the possibility to change the card display view of your existing project flows to row display view.
How to create a new workflow
To create a new flow, you are required to add a name, and you have the option to add a description to it.
Please note: The flow name cannot exceed 55 characters, and the description is limited to 1000 characters. If you surpass these limits, you will not be able to proceed with the creation process.
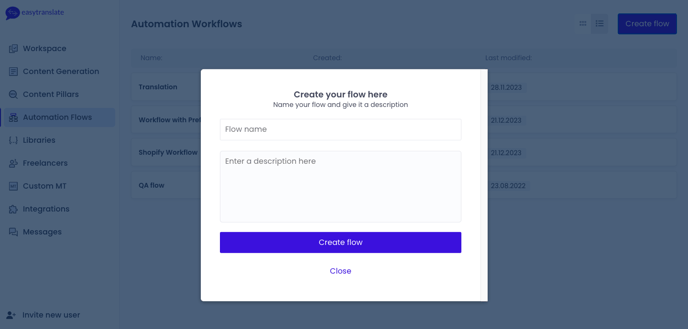
Simply click on "Create flow" to create a new flow once the fields have been completed. Once you have clicked "Create flow" a new card will appear in your overview. If you no longer wish to create a flow, click on "Close" instead.
How to design your flow
To design a flow, click on the flow card or row in the overview page you wish to design. Once you click on it, you will be redirected to the design side of your Workflow
.
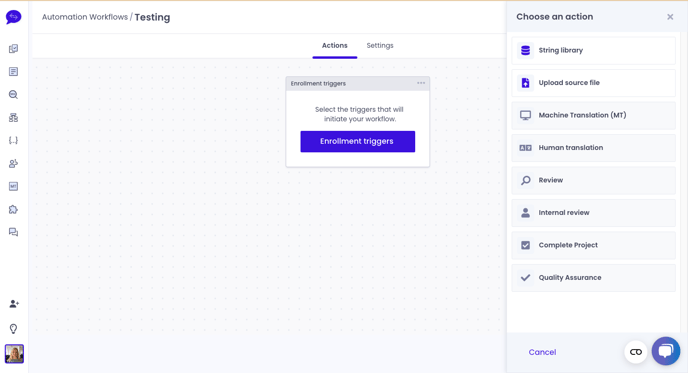
You have 10 actions you can select from:
String Library: Translate your String Library via the Workflows. Create a flow before sending your strings for translation.
Upload source file: If you are using this action as the first action, you will be required to upload a source file to proceed with your flow when you create a project.Machine Translation (MT): The content you are providing in a project is going to be translated using machine translation.
Human Translation: The content you are providing in a project creation is going to be translated by a translator of your team. In this step you can also select which translator you'd like your task assigned to. Click on the step, and follow the instructions
Review: A new translator of your team will review the translated content. This action can only be used after using the translation action in a previous step of the flow.
Internal Review: This action gives you the ability to do revisions yourself. It can be on translated (and reviewed) content, or just machine-translated content.
Complete Project: This concludes the end of your flow. You are only able to add Internal Review after it.
Quality Assurance: The action that will include a QA task to be performed on your translation task
To facilitate the creation of your flow, only certain actions would be available to pick, depending on which action you take. That way we make sure your flow keeps a coherent logic.
To build your flow, simply:
(1) Select one of the two available actions in the actions section to start your flow.
(2) Click on "Add" at the bottom of the actions section.
(3) Once the action is setup, you can add a new action in the actions now available by selecting it in the actions section.
(4) Click on "Add" at the bottom of the actions section.
(Repeat the process as many times as needed).
You can either finish your flow by using the "Complete Project" or top it up by adding the "Internal Review" action.
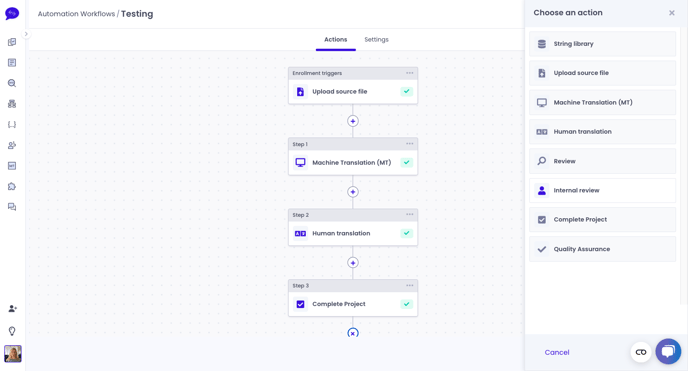
How to activate your Automation Workflow
During the design phase of your flow, your flow is automatically saved in a draft state, to activate it and be able to use the Automation Workflow you created when you create a new project, you need to click on the slide button in the top right corner to turn "ON" your Workflow. If you wish to deactivate it, simply click on it again to turn it "OFF".
How to change a step in the workflow
You always have the possibility to change a step in your Workflow regardless of its state.
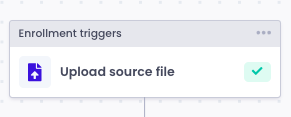
In order to change a step in the workflow, you simply have to click on the three dots on the step you wish to change. Afterwards click on "Edit this action" or "Delete this action and all after it"
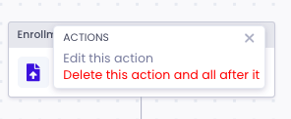
NOTE: Keep in mind that due to an eventual logic issue, the steps added after the step you wish to change will automatically be removed and will have to be manually added again.
How to change the name or description of your workflow
To update the name or description of a flow, follow these steps:
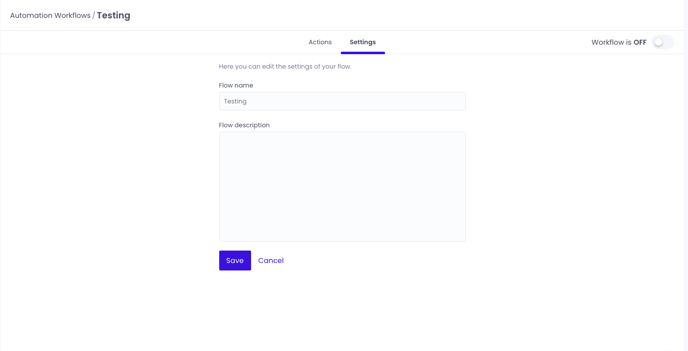
1. Click on "Settings" located next to "Actions" on the right side of your screen.
2. In the top left corner of the page, click on the field to change the name and/or description.
3. After making the necessary changes, click on the "Save" button to save the updated information. Alternatively, you can click on "Cancel" to disregard the changes.
Please. Remember that the name of a Worfkflow has a 55 characters limitation and the description has a 1000 characters limitation.
