Content
Introduction
How to get started
Introduction
The content pillars tool provides a simple and efficient way to organise and create content while having your team of copy editors localise the content to your brand! AI and high quality localisation have never been easier!
Each pillar focuses on a specific area and keywords that you want to create content for. Within each pillar, you can create pages for the content you desire. When you have defined your topics, select the languages you want your content in, and send it directly to your copy editors for optimal localisation: content written directly in the language of your choice!
Think of the content pillars as a hybrid of our content generation tool. With content pillars, you have the ability to create multiple content pieces around one pillar.
Unlike the content generation tool where you have to go through the process one by one, content pillars allows you to generate different versions in bulk. All you need to do is define a headline and word count, and then your copy editor will take care of the rest. The roadmap-like setup allows you to easily organise your content generation.
How to get started
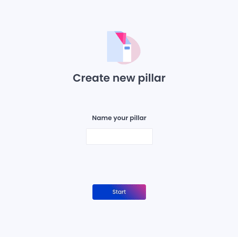
Create pillar: To start out, you will need to establish the foundation of your roadmap, which is your pillar. To do so, find the content pillar feature in the left sidebar and click on Create Pillar and give it a name.
In our example we named it SEO localisation. Click Start.
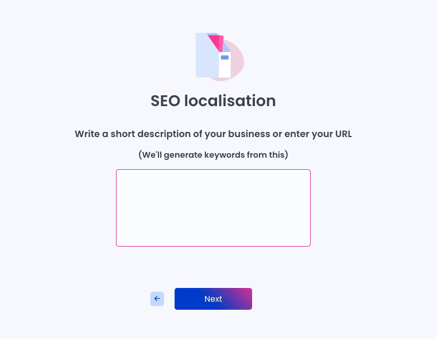
Next, you will need to add a short description of your business or your website URL. Click Next when ready.
Please note that if you have a specific subdomain that you would like us to base it off, make sure to provide the specific URL and not a generic one, such as www.easytranslate.com.
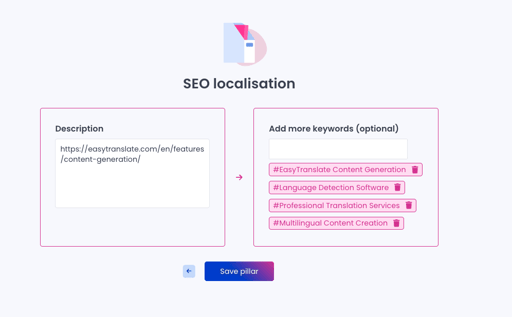
On the next page, you will find the description you provided along with a list of keywords generated from the description or URL. These keywords will serve as the basis for the content that will be generated, so it's important to ensure they accurately describe the ideas you want to create content for. If needed, you can add more keywords or remove the automatically generated ones that don't align with your requirements. Once you are satisfied, simply click on Save pillar.
How to create content
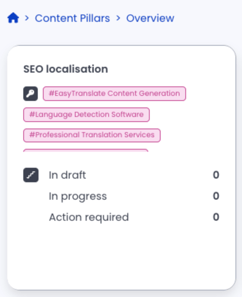
Once you have saved your pillar, you'll be redirected to the overview of your pillars. Each pillar have their own set of keywords and description to work with.
In the overview of each pillar, you can see a quick list of your pages and their status for your pages.
Find your pillar and click on it to access the Pillar that you have recently created. The pillars are sorted with the newest to the upper left. 
At the top, you will find the name of your pillar. Directly below that, you will see the keywords that you have selected. These keywords will be used to create pages. The pages are sorted under each keyword. So you can create different content for each.
How to add pages
Pages are the tasks for copy editing that is sent to your copy editor. The copy editor receives the task with the title or idea you decide on, as well as your Pillar description and the AI-generated output. From this they then build your branded content in the localised language of your choice.
To get started, simply click on Add pages.
Here you are asked to define the parameters of your content. You choose how many suggestions for prompts you want to see, the type of content and how long the text should be.
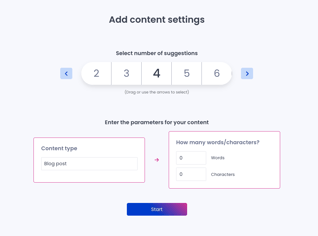
Number of suggestions: The amount of suggestions you want the AI to generate for you. These will be your headlines and the number of headlines you can choose from. Please note this is a slider, so you need to drag it to select the number.
Content type: Select what type of content you want. We have listed the most popular types for you. You can also choose Other, this will however give your copy editor less information.
How many words/characters: You can freely set how many words or characters you want the final content to be. 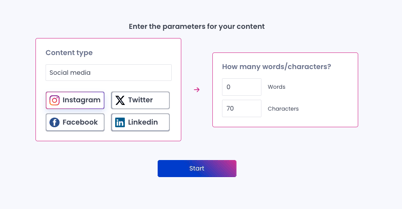 If you choose the option for Social media, the display will be adjusted slightly, and we will provide you with the suggested character limit for specific social media platforms. You are welcome to change the amount. Click Start to continue.
Good to know:
-
Please keep in mind that you can choose either the number of characters or the number of words, but not both. Choosing both options may create conflicting instructions, making it difficult for us to determine which one to follow.
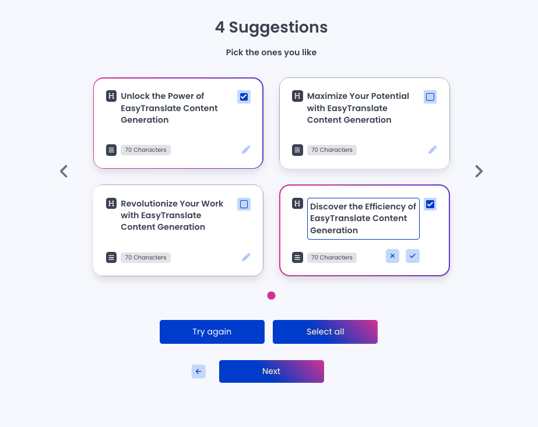
After selecting the number of suggestions in the previous step, you will see four suggested options. If you chose more than four, click the arrows on the side to go the next four. Select the headlines you want to use. You can choose between 1 and all that are generated. If you are not satisfied with the headlines, You can make changes directly, or click Try again to generate new ones.
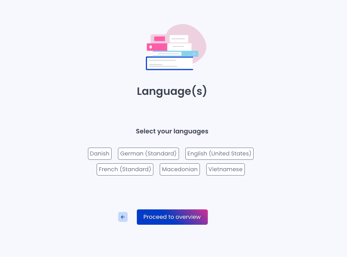
Now it's time to select the languages that you'd like your content to be written in. Please note that we'll only display the languages that you have copy editors for. You can add copy editors to your freelance team the same way you choose translators. Please do not hesitate to contact us if you have any questions.
Click Proceed to overview to continue.
.png?width=300&height=229&name=image%20(177).png)
This takes you to an overview of what you have selected and are about to order.
You can either confirm your choices by clicking Create project, or Save draft and come back to it later.
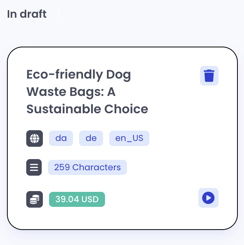 If you click Save as draft, you'll find the pages in the In draft column.
The card will show you the headline, languages, word/character count and the price.
There are also two icons:
Trash can: delete the card. This cannot be reversed.
Play button: click here to move the draft to In progress which starts the process and sends the information to the copy editor so they can start.
Clicking Create project sends the information to the copy editors through the project. When the copy editor is done creating the content they will mark it as completed and you get an email and the card is moved to the Completed column. You can now go in and download your new localised content!
What to expect
The end result will be copy that is localised in language, culture and brand to your specified markets.
Simply put, you use the tool to create ideas for the content you need. Select the ideas that fit what you would like. From this you create a project with your idea and requirements. The copy editor uses your information to prompt AI for the content and then edit it to make sure it is good and uses your brand tone of voice.
You are always welcome to message the copy editors directly to give more information or feedback. Good communication helps you and the copy editor to create the best possible content.
Good to know:
-
You can only order copy editing for a languages if you have freelancers in your team with the copy editing service in the desired language. You can add freelancers yourself with the Add freelancer button. See more here.