After installing the plugin through a Zipfile, Github, or Shopware Marketplace, the next step is to connect the plugin with your Easytranslate account. This process requires following a few configuration steps to ensure a successful connection between the plugin and the EasyTranslate platform.
In the Shopware platform, you can easily connect the plugin with your EasyTranslate account. To do this, follow these steps:
1. Click on the dots located to the right of the EasyTranslate Connect extension, and then select "Configuration".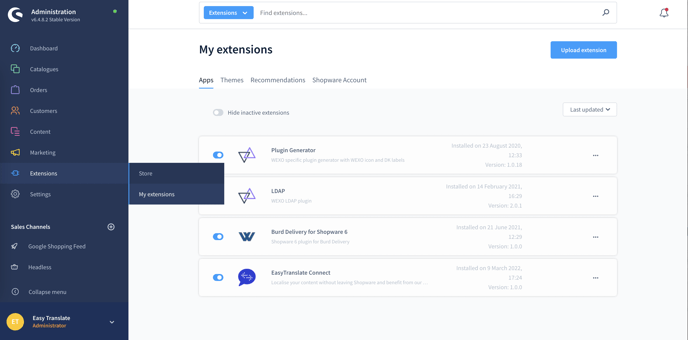
2. Enter your EasyTranslate platform API credentials as well as your username and password for the EasyTranslate platform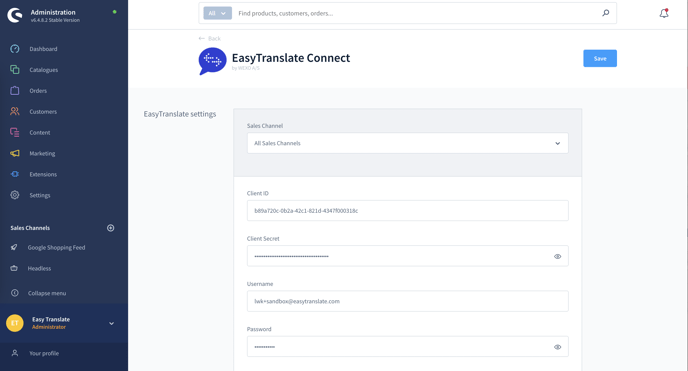
 Once you have created an account, EasyTranslate automatically generates API keys (Client ID, Client Secret) for you. These API keys can be found in the Integrations section of the EasyTranslate platform. Simply click on the key-icon to reveal this information.
Please note: The Client ID and Client Secret are on account basis so you cannot use the ones from above
Plot in all the information the plugin requires - then, click save on the top right.
On the same page when you scroll down, you'll see a few more fields. The team identifier, Access token and Refresh token; These will automatically update once you save the above information. 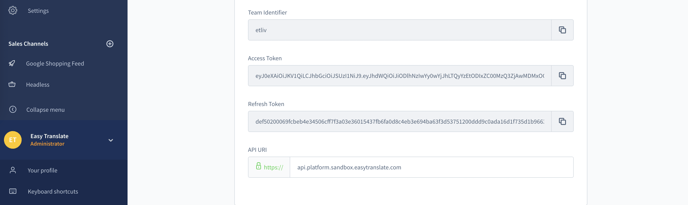
You have now successfully connected the Shopware 6 extension to your EasyTranslate account, and you are ready to start sending your content over for translation.
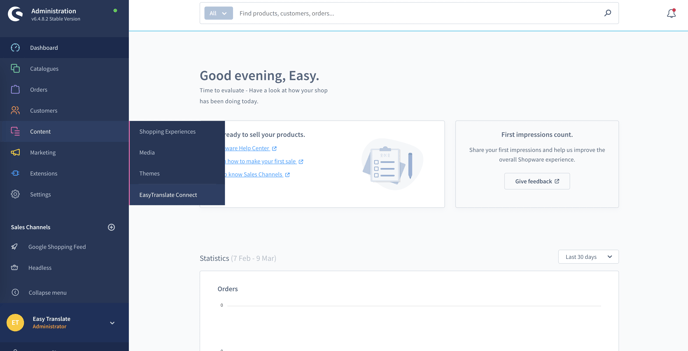
Via the sidebar in Shopware, go to Content > Easytranslate Connect
You'll then land on the Projects page. Here you'll not only be sending content for translation, but you'll also have an overview of your ongoing tasks, their progress, their price, and much more. 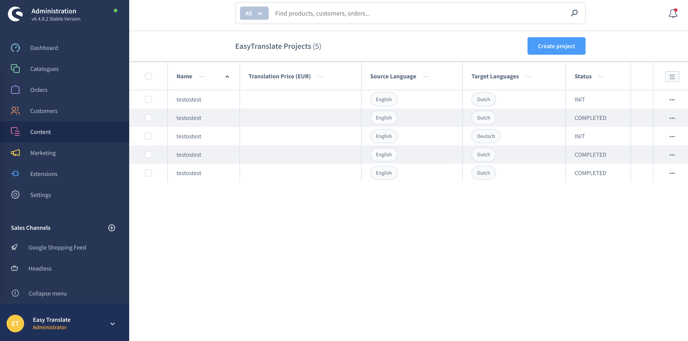
The overview shows you the name you have given your task, the price, the source language, the target language, and the status of your task.
On the far right, you'll see an icon that can edit these columns. Clicking on it, will allow you to toggle between the order of the columns, and hide and/or delete columns, so you can customise it as you see fit. 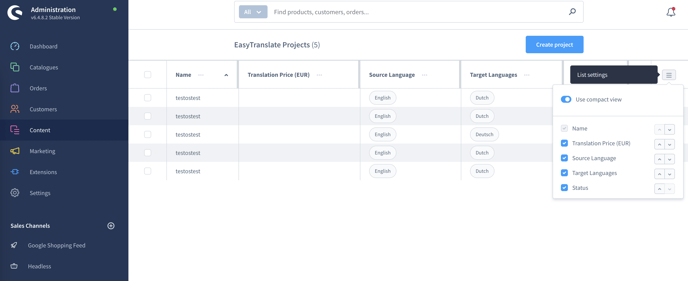
Once you have customised your project view, or kept it as it is, you are ready to send projects over for translation!
On the same page, click "Create project".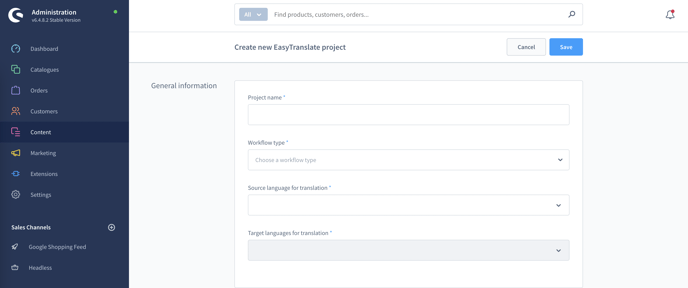
Fill in the information required to create a project -
1. Project name
2. Workflow type (Translation, translation + review, Translate yourself + MT)
> We'll get back to these below
3. Source language
4. Target language(s)
> For target language(s) please make sure you are already set up for them in Shopware, or else they will not be available when trying to select them. Needless to say, the language(s) you are selecting, also needs to be included in your EasyTranslate contract.
NOTE: When selecting workflow type, please bear in mind that you may not have revision included in your contract. If you are in doubt, please reach out to support via the chat function within the EasyTranslate platform.

You are now ready to start selecting your Category assignment and Product assignment. 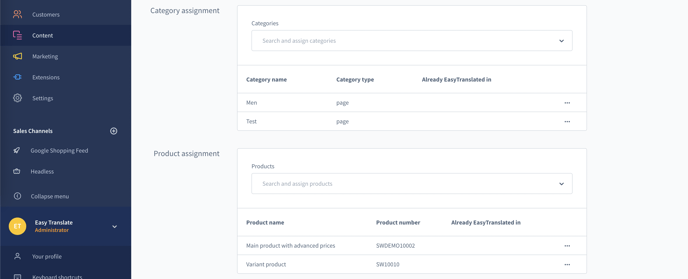
You can select all the categories and products within that you'd like. However do note that each product will generate a separate task in the EasyTranslate platform, so if you send many tasks over in one go, it will take some time for them to be processed, analysed, priced, and assigned to translators.
This will also generate many small invoices in a short period of time. To avoid any conflict with this, we recommend you set yourself up with our Wallet payment option.
Please see the Knowledge Base article regarding the Wallet setup for more info on this.
Once you have selected the products you want to be translated, scroll to the top, and click save. You'll then land on the following page: 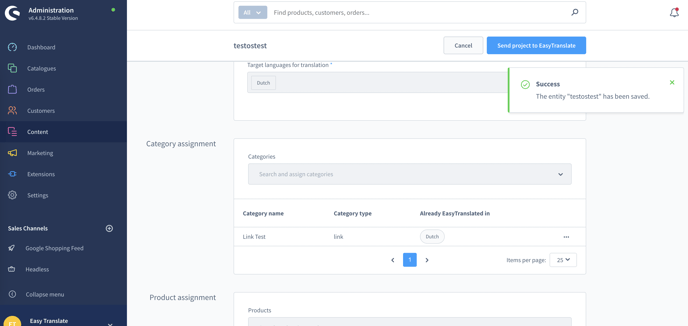
You'll see a notification on the right, confirming that your project has been saved.
Once you scroll down, you'll also see the details of the project.
When you are ready to send your content to translation, click "Send project to EasyTranslate".
This will generate a project on the EasyTranslate platform, and once the translation is complete and has been sent back to Shopware, you will see the status has changed.